How to Brine Chicken: Quick Tips
I love cooking at home and have always been intrigued by brining. It’s amazing how this simple method can make brine chicken so juicy and flavorful. Today, I’m excited to share my top tips for brining chicken perfectly.
Key Takeaways
- Brining chicken for 2-3 hours at room temperature or 4-6 hours in the fridge is recommended
- Boneless, skinless chicken breasts can be brined in as little as 30 minutes at room temperature or 1 hour chilled
- The brine solution typically contains 5 tablespoons of kosher salt per 1/2 liter of water
- Brining results in the most tender and flavorful chicken
- The optimal brining time for chicken breasts ranges from 30 minutes to 1 hour
Understanding the Science Behind Chicken Brining
Brining is key to making chicken tender and moist. It involves soaking meat in a salt water solution. This process greatly enhances the texture and taste of your chicken dishes.
The Role of Salt in Tenderizing Meat
Salt in the brine tenderizes the chicken. It denatures the proteins, making them softer. This makes the chicken more tender and juicy after cooking.
How Moisture Retention Works
Brining also helps keep chicken moist. The salt solution in the brine goes into the meat. This increases moisture, preventing the chicken from drying out while cooking. It leads to a more moist and flavorful chicken.
Chemical Changes During Brining
The brining process changes the chicken chemically. Salt changes the protein structure, helping it hold water better. This makes the chicken more tender and juicy, keeping its natural flavors.
“Brining is a game-changer for achieving the perfect balance of tender and moist chicken.”
Understanding brining’s science lets you improve your chicken dishes. You’ll consistently get amazing results that wow everyone.
Essential Ingredients for Perfect Chicken Brine
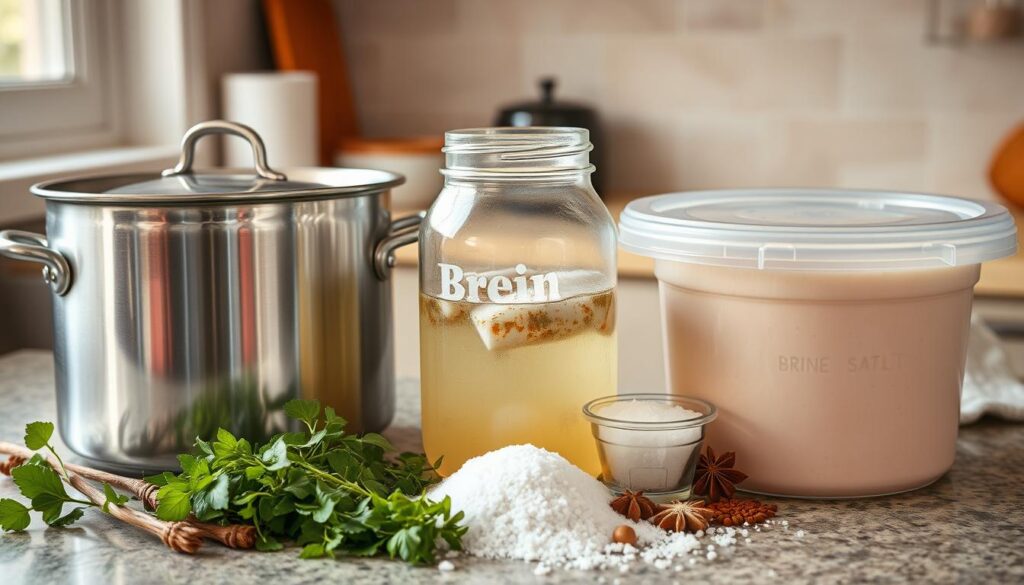
To make a delicious chicken brine, focus on a few key ingredients. The base is salt and water. For 4 pounds of chicken, use 4 cups of cold water and 5 tablespoons of kosher salt. This mix tenderizes the meat and keeps it moist.
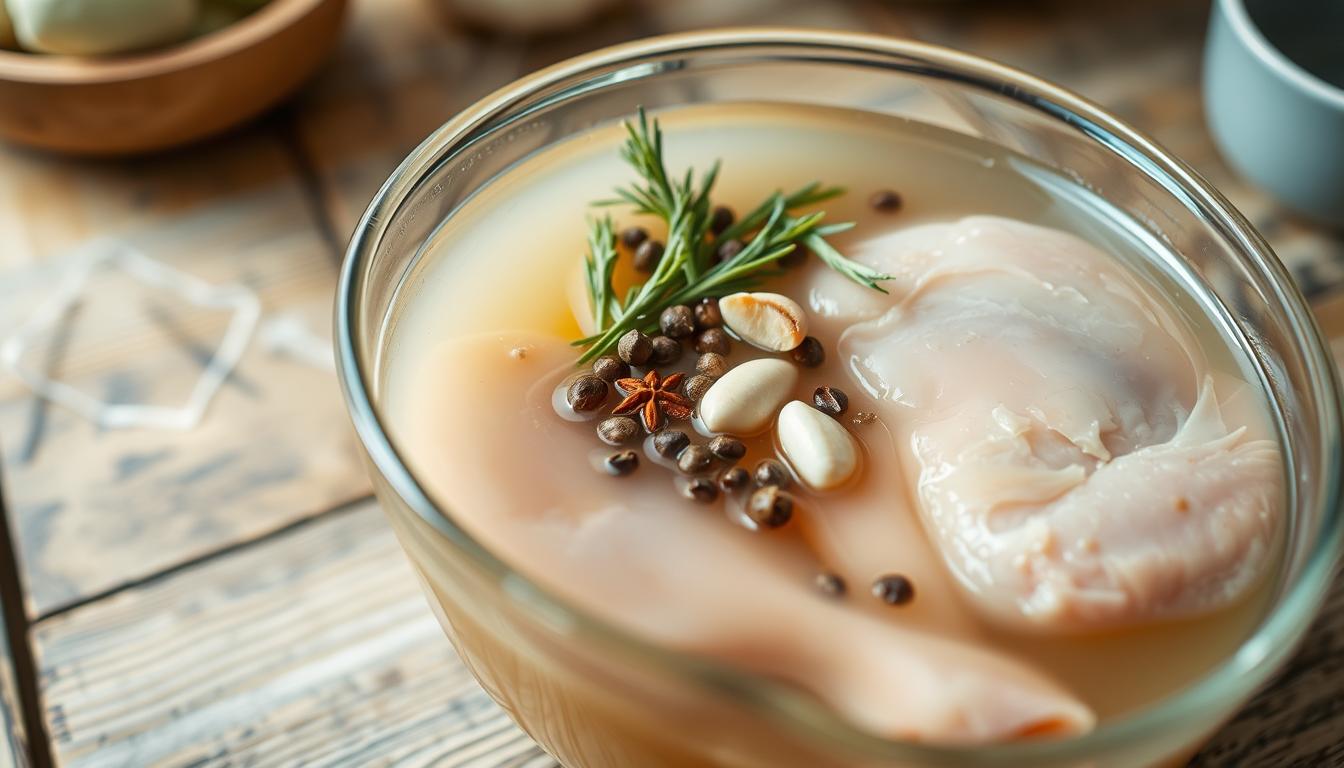
Adding flavor enhancers takes it to the next level. Try garlic cloves, peppercorns, fresh herbs like thyme or rosemary, and citrus zest or juice. Even a bit of sugar can enhance the taste, but a salt-only brine can be incredibly flavorful.
The type and amount of salt matter a lot. Kosher salt is a favorite because its large crystals dissolve well. But, you can also try sea salt or Himalayan pink salt for different tastes.
| Ingredient | Amount |
|---|---|
| Cold Water | 4 cups |
| Kosher Salt | 5 tablespoons |
| Garlic Cloves | 5 cloves |
| Whole Black Peppercorns | 1 tablespoon |
| Fresh Thyme Sprigs | 2 sprigs |
| Lemon Zest | 1 tablespoon |
The charm of a chicken brine recipe is its simplicity and flexibility. Don’t be afraid to mix and match flavor enhancers to make a brine that’s just right for you.
Proper Salt-to-Water Ratios for Brining
Getting the right salt-to-water ratio is key for brining chicken. Use 4 cups of cold water with 6 tablespoons of Diamond Crystal kosher salt. Or, use 4 1/2 tablespoons of Morton’s kosher salt. If you have fine or table salt, use 3 tablespoons instead.
Cold tap water works better than warm water for brining. It helps the brine soak into the chicken better.
Different Types of Salt and Their Measurements
The salt you pick can change the brine’s taste. Here’s a quick guide on salt amounts:
- Diamond Crystal Kosher Salt: 6 tablespoons
- Morton’s Kosher Salt: 4 1/2 tablespoons
- Fine or Table Salt: 3 tablespoons
These amounts are for a 4-cup water brine. Adjust the salt based on how much water you use.
Water Temperature Guidelines
The water’s temperature is important for brining. Use cold tap water instead of warm. Cold water helps the brine soak into the chicken better. Warm water can make the chicken too salty or dry.
Adjusting Ratios for Different Cuts
The standard ratio of 4 cups water to 6 tablespoons kosher salt is a good start. But, you might need to tweak it for different chicken cuts. For quicker brines, you can add more salt. For example, use a 4-cup water to 7 tablespoon salt ratio for chicken breasts in a 2-hour brine.
For a whole chicken, try a 4-cup water to 5 tablespoon salt ratio. This works well for a 4-hour or overnight brine.
“The salt-to-water ratio is critical for effective brining. Get it right, and you’ll have juicy, flavorful chicken every time.”
Step-by-Step Guide to Brine Chicken
Brining chicken can be simple or complex, based on your choice. Whether you prefer a quick brine or a flavorful soak, follow key steps. This ensures your chicken is tender, juicy, and full of flavor.
- Mix the Brine: Dissolve salt in cold water until fully combined. For a basic brine, use a 1:1 ratio of water to salt. You can also add optional aromatics like garlic, herbs, citrus, and peppercorns to enhance the flavor.
- Submerge the Chicken: Place your chicken, whether it’s a whole bird or individual cuts, into the brine. Make sure the chicken is fully submerged and covered by the liquid.
- Refrigerate and Brine: For short brines (under 30 minutes), you can leave the chicken at room temperature. For longer brines, refrigerate the chicken for the recommended time, typically 12-24 hours for a 4-5 pound bird.
- Remove and Pat Dry: After brining, take the chicken out and pat it dry with paper towels. Do not rinse the chicken, as this will wash away the brine’s benefits.
- Cook as Desired: You can now cook the brined chicken using your preferred method, such as roasting, grilling, or frying. Remember not to add additional salt, as the brine has already seasoned the meat.
- Achieve Crispy Skin: For extra crispy skin, let the brined chicken air-dry in the refrigerator for a few hours before cooking. This will help the skin dry out and become perfectly golden and crunchy.
Brining is a game-changer for juicy, flavorful chicken. By following these simple steps, you can unlock the true potential of your poultry. Impress your family and friends with your culinary skills.
| Brining Method | Brine Ingredients | Brining Time | Cooking Method |
|---|---|---|---|
| Wet Brine | Water, Kosher Salt, Optional Aromatics | 12-24 hours | Roasting, Grilling, Frying |
| Dry Brine | Kosher Salt, Baking Powder | Minimum 12 hours | Roasting, Grilling |
| Buttermilk Brine | Buttermilk, Kosher Salt | 30 minutes to 1 hour | Fried Chicken |
“Brining is a game-changer when it comes to preparing juicy, flavorful chicken.”
Optimal Brining Times for Different Chicken Cuts
Finding the right brine time for chicken is key. It depends on the cut, whether it’s a whole bird or pieces. The goal is to make brine chicken juicy and tender, full of flavor.
Whole Chicken Brining Duration
A whole brine chicken should soak for 2 to 8 hours. This long soak lets the salt and seasonings deeply penetrate the meat. It makes the chicken moist and flavorful all the way through.
Breast and Thigh Specific Times
Breasts and thighs do best with a shorter brine time of 30 minutes to 2 hours. This time is just right, making the chicken juicy without being too salty.
Quick Brining Methods
- Boneless, skinless chicken breasts can brine quickly. Try 15-30 minutes at room temperature or 1 hour in the fridge.
- This fast brining method tenderizes the meat and boosts its flavor. It doesn’t change the texture too much.
It’s important not to over-brine, as it can make the chicken too salty. Most cuts do best with a brine time of 30 minutes to 1 hour. This balance improves flavor and texture just right.
“Proper brining times are crucial for transforming ordinary chicken into a juicy, flavorful masterpiece.”
Flavor Enhancers and Optional Additions
To elevate your brined chicken, add various flavor enhancers to your brine. These extras can add amazing aromas and tastes. This makes your chicken even more delicious.
Start with ingredients like garlic, onions, lemon slices, bay leaves, peppercorns, or fresh herbs. For quick brines (under 1 hour), use powdered or granulated versions. For example, a tablespoon of garlic granules in a 1-hour brine can greatly enhance the flavor enhancer for chicken.
For longer brining times, blend fresh herbs, vegetables, and spices in a food processor. This creates a rich marinade that will marinating chicken to perfection.
| Flavor Enhancers | Brining Time | Recommended Quantity |
|---|---|---|
| Garlic (granules or powder) | Under 1 hour | 1 tablespoon |
| Fresh Herbs (e.g., thyme, rosemary, sage) | Over 4 hours | 1/4 cup chopped |
| Lemon Slices | Any brining time | 2-3 slices |
| Peppercorns | Any brining time | 1 tablespoon |
Remember, experimenting with flavors is key. Find the perfect mix that suits your taste. With a bit of creativity, you can turn simple brined chicken into a masterpiece.

Common Brining Mistakes to Avoid
Brining your chicken can make a big difference, making it juicy and full of flavor. But, there are common mistakes to watch out for. One big mistake is over-brining, which can make the meat too salty or spongy. Make sure to follow the recommended brining times for each chicken cut to get it just right.
Over-brining Problems
Brining your chicken for too long can cause problems. The meat might get too salty, tasting harsh. It can also become spongy and waterlogged, ruining the juicy texture you want.
Temperature Control Issues
Keeping the right temperature is key when brining chicken. For brines longer than 30 minutes, refrigerate the chicken to stop bacteria from growing. Don’t use reactive metal containers, as they can ruin the flavor. Also, don’t add extra salt when cooking brined chicken, as it can make the dish too salty. And remember, don’t rinse brined chicken before cooking, as it can spread bacteria and lose the salt.
By knowing and avoiding these common mistakes, you’ll get perfectly juicy and flavorful brine chicken every time. Learning how to brine is a skill that can make your chicken brine recipe better and your poultry dishes even more delicious.
Best Containers and Tools for Brining
Choosing the right containers and tools is key for brining poultry or marinating chicken. Use non-reactive materials like glass, ceramic, or food-grade plastic. For smaller chicken cuts, large resealable bags work great.
For whole chickens, a large, food-safe container or a brining bag is needed. Make sure the chicken is fully covered in brine. If it’s not, use a plate or weight to keep it down. Brining buckets or poultry bags can make things easier and cleaner.

It’s important to seal your container well to avoid leaks. Also, keep the brined chicken safe and clean to prevent contamination.
“The right tools and containers can make the brining process a breeze, allowing you to achieve perfectly moist and flavorful chicken every time.”
Investing in good equipment will help you get better at brining poultry and marinating chicken.
Post-Brining Storage and Handling
After brining your chicken, it’s key to store and handle it right. First, dry the chicken with paper towels. Don’t rinse it. You can keep brined chicken in the fridge for up to 3 days before cooking.
For longer storage, wrap the chicken well and freeze it for up to 2 months. When you’re ready to cook, thaw the chicken in the fridge. Let it come to room temperature before cooking. This ensures even cooking and keeps the juices in.
For the crispiest skin, air-dry the chicken uncovered in the fridge for about 24 hours before cooking. Follow these tips to keep your brined chicken moist and juicy. Enjoy the fruits of your labor!

